
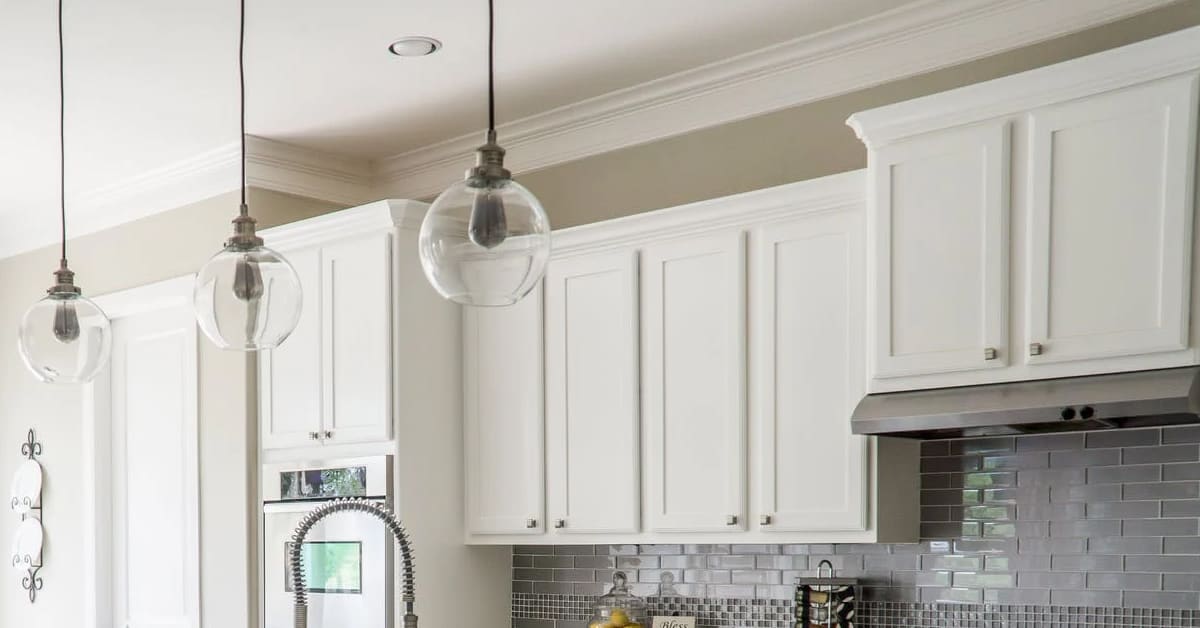
Crown molding, that decorative finish on top of your kitchen cabinet, can add some great aesthetics to your kitchen decor. The molding also protects against the accumulation of dust and grime while also blocking spaces between the wall and cabinet. However, when you’re trying to remove or replace old molding you run the risk of damaging your walls and cabinets.
To remove crown molding from your kitchen cabinets, you need to use a small hammer, a pry bar, and a utility knife. Score the edges to remove the caulking before you pry apart the pieces. Use the utility knife to clean up the caulking marks.
Moldings are used for adding a smooth transition between the cabinet and the ceiling. The moldings can last years, even decades, before needing replacement or repair. When the need arises to remove old crown moldings, here is all you’ll need to know about removing crown moldings.
Should I Remove Crown Molding from Kitchen Cabinets?
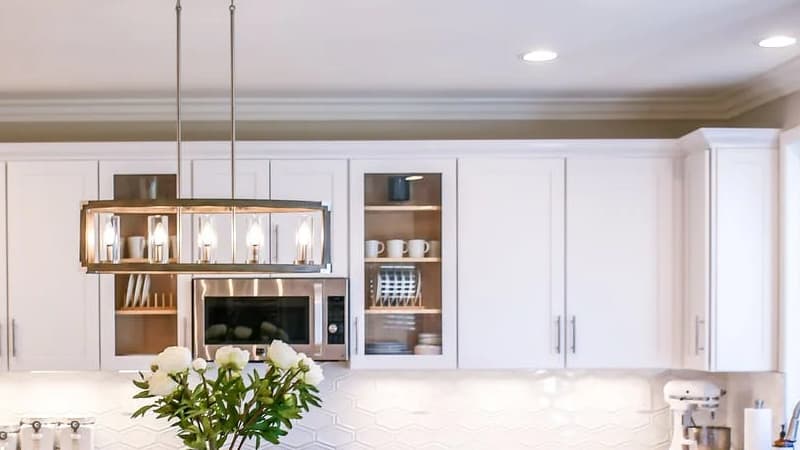
Home design trends come and go each season, each year. Crown molding is one home design style that has stood the test of times and is still popular in most types of homes. Crown molding can make your home and kitchen look upscale by adding a striking visual statement likely to add value to your home.
Nonetheless, when you need to redecorate your kitchen you might want to remove the existing crown molding. If the crown molding is either too old, of inferior material, or shows signs of wear and tear you might need to remove or replace.
How Do You Remove Crown Molding from Cabinets?
Removing molding from cabinets needs care and caution because you don’t want to leave ugly marks on your walls and ceiling, ruin your cabinets, and spoil the molding which you may want to reuse. To safely remove molding, here are the steps you need to take:
- Start by laying down some newspapers or a drop sheet below your working area. This will protect your floor and make your cleanup easier. The cover will also collect any nails, avoiding risks of injury.
- Wear some protective gear. Eyewear serves to protect your eyes from dust and debris. A carpenter’s mask protects you from breathing in dust, paints, and other potentially harmful inhalants.
- Using a small sharp utility knife, score the joint where the molding meets the ceiling and the cabinet. The reason is, you want to cut through the caulking. The caulking acts like a glue which holds the molding tight against the wall, ceiling, and cabinet. Therefore, score all round without missing a spot.
- With your utility knife, score through any corner joints of the molding.
- Once you’ve scored through the caulking all round and the corner joints, take a prying bar and hammer. Gently hammer the prying bar into the space between the ceiling and the molding. Start with an obscure corner then work your way all round.
- Gently pry apart the molding from the ceiling. You may notice that if there are any areas where you didn’t score through the caulking, the molding will come off with parts of the ceiling. Scoring through the caulking enables a smoother and cleaner pry job.
- Take care not to use too much force when prying apart the molding from the cabinets, ceiling, and walls. You may damage reusable parts or cause cracks which may be more difficult to repair.
- Once you’ve removed the molding, you can use the pry bar to gently clear off the caulking that’s still stuck to the cabinets, walls, and ceiling.
- If you plan on reusing the molding, you’ll want to remove the nails. Using a hammer, gently pry off the nails from the molding. Be careful not to damage the face side of the molding.
How Is Crown Molding Attached to Cabinets?
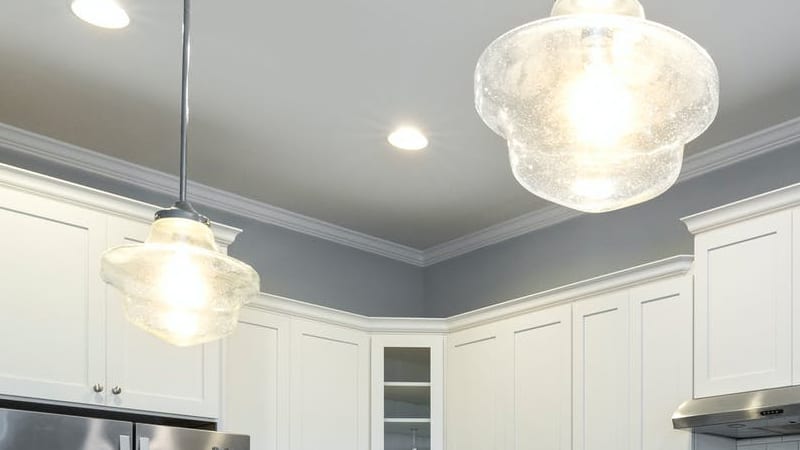
Crown molding can add a touch of sophistication to your cabinets, but only if installed properly. Here is a step-by-step guide on the best way to properly attach crown molding to cabinets.
Step 1: Choose Your Molding Type
Crown moldings come in many different varieties. Choose a molding size and type that reflects the room design and your personal tastes. When choosing a material, you can consider the following:
Plaster
This is the most expensive crown molding material. It can bring out elegant designs which might be more difficult to achieve with wood. It’s beautiful but can be delicate and costly.
Solid Wood
Solid wood crown moldings add a touch of class and tradition. The warmth and texture of wood is difficult to duplicate with artificial materials. Nonetheless, wood can also shift shapes when exposed to high variations in temperature and humidity.
Medium Density Fiberboard (MDF)
MDF is great for painted crown moldings. It looks like solid wood though it’s more vulnerable to damage.
Flex
Flex works great for curved rooms or rooms requiring special bends in the crown molding. You may need to make a special order, but flex is more durable than most other materials.
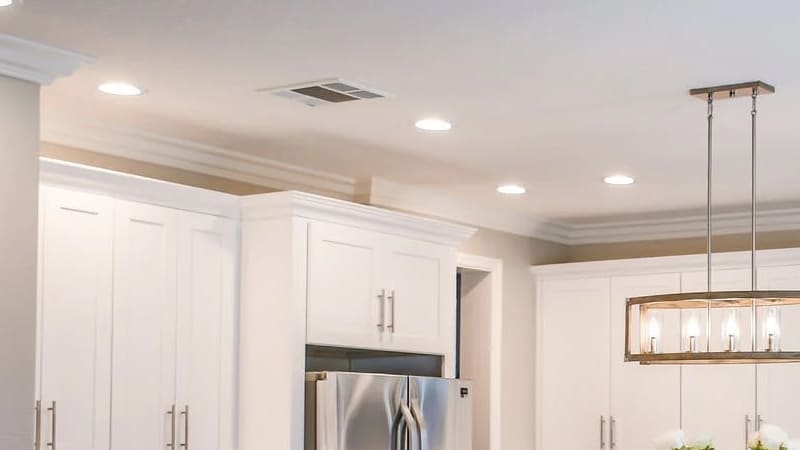
Step 2: Consider Furring
With most types of cabinets, installing a crown molding directly might make it impossible to open and close the cabinet’s overlay doors. Thus, you may want to add a furring strip.
A furring strip is a piece of wood you place on top of the cabinet to create a flat plane for attaching the crown molding.
Cheap pine boards make for inexpensive furring strips which you can easily cut into the desired shape. They are also easy to paint or stain to the desired color to match the crown molding. Use a spray paint to paint the furring strips the same color as the crown molding.
Step 3: Sawing
Because crown molding bridges the cabinet’s surface and the ceiling, the face of the molding will not be in plane with either surface. The cuts can look somewhat intimidating for someone new to installing crown molding.
With most crown moldings, you will need to measure and cut using a miter saw in order to get the right fit. Sawing your crown molding doesn’t have to be difficult.
Most miter saws will have a stop for the bevel and angles. Some common angles to use are 45 degrees, 33.9 degrees, 31.6 degrees, 52 degrees, and 38 degrees. decide on which of these angles you’ll want to use for your bevel and spring angles. These are so common that most miter saws will come with pre-set markers at these points.
Step 4: Installing The Pieces
Start by dry-fitting the pieces on a worktable just to see how the angles fit and whether you need any adjustments.
Once you get the right fit for all pieces, nail them in place on the cabinets using an inch and a half brad nails and a nail gun.
Once done, you’ll likely have a small gap between the crown molding and the cabinets and ceilings. Using a glue gun, apply caulk into the spaces for a neat finish.
Is It Easy to Remove Crown Molding?
Removing crown molding can be a fairly easy DIY project. It doesn’t require special tools or expert knowledge. As long as you can wield a hammer and use a pry bar, you can remove crown molding quickly and easily without causing damage.