
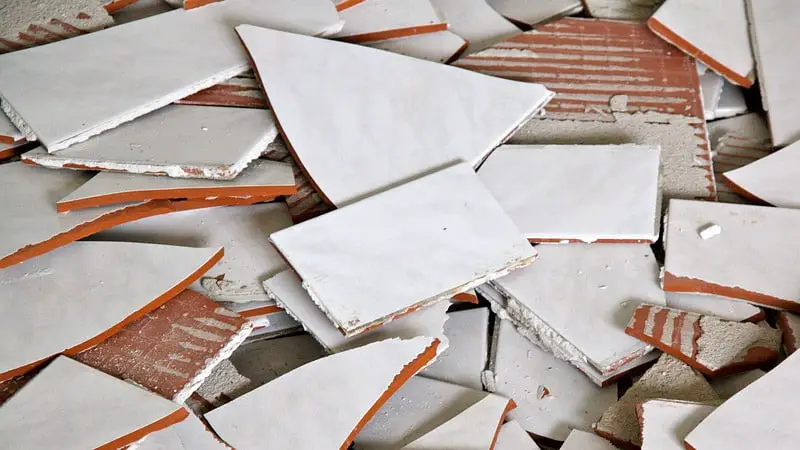
Tiles are very prone to breaks. If you’re styling your kitchen with tiles all around, you’ll have to learn how to fix a broken kitchen tile. But is it even possible to replace a single broken tile on the kitchen wall?
You can replace a single broken tile on your kitchen wall by yourself, without the help of a professional. However, you should consider getting professional tools for the task, as improvising can make or break the success of the procedure.
In this article, you’ll learn the step-by-step process to replace a single broken tile in your kitchen. Since you can easily mess up this process, it’s important to read through the processes carefully to avoid damaging your entire kitchen.
How Do You Replace a Single Broken Wall Tile?
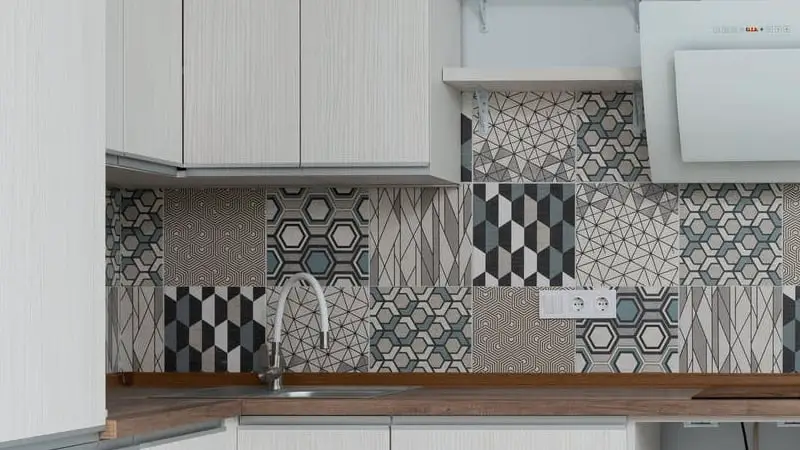
A single broken tile can make your entire home look out of place. But contrary to what you may think, the steps to replace a broken tile on your kitchen wall are easier than you think, and you can certainly do it yourself.
Before attempting to fix a broken tile, however, there are some important materials you must get for a smooth process. You shouldn’t improvise on any of these materials, as that may break the entire replacement process.
If you’ve never tried replacing a wall tile, you may want to keep yourself safe by getting some heavy-duty gloves, a dust mask, and some protective glasses. A professional might not need all those, as they can expertly avoid any safety hazards, unlike you.
Once you have your safety kit in place, you must also get a replacement tile that’s the same size as the broken tile. You’ll also need some tile adhesive and masking tape to fit the new tile into place.
After getting all the basic replacement materials, you’ll also need some tools to remove and replace the broken tile. If you don’t have most of these tools, you don’t have to buy; you can simply borrow or rent for cheaper since you won’t be needing them all the time.
With that said, you’ll be needing a trimming knife, a chisel, a combi drill, a grout remover, a hammer, a chisel, a grout spreader, drill bits, and dust sheet. Most of the other materials you’ll be using to replace your broken tile are common in the household and there is a very high chance you have them handy.
After getting all the tools and safety equipment mentioned above, you can jump over to the next section to learn the step-by-step process of replacing a single broken tile on your own without hiring a professional.
How Do You Replace a Broken Kitchen Tile?
At this point, you should already have all the necessary tools to replace a broken tile. Other than the replacement tile and the safety equipment, you can borrow or rent the rest to save money.
Once you have all the tools handy, follow the steps below to replace your broken kitchen tile like an expert.
1. Lay down a dust sheet and clear the surrounding area.
Replacing a broken tile is a messy procedure. You’ll certainly have a lot of debris lying around, and you don’t want that all-around your kitchen.
You should also clear every surrounding area of every obstacle that might hinder the procedure, as that may make or break the tile literally.
If you’re working near or over the sink, it’s important to make extra provisions to ensure that you don’t get dirt and debris in your sink. Skipping this step may cause blockage to your kitchen’s plumbing system, incurring more costs than hiring a professional.
2. Remove the broken tile.
Before removing the old tile, you may want to clear the grout around the old tile using a grout remover. This will prevent the tile from damaging the rest of the wall during the removal, enabling you to replace it without causing a much larger problem.
Before using the grout remover, drilling several holes into the surface of the tile could make it easier to remove from the wall without affecting other tiles on the wall.
Once you remove the tile ships that result after drilling holes in the tile, you should remove as much of the old adhesive from the wall as possible. You can remove the adhesive using a scraper, after which you’ll be ready to fix the new tile.
3. Fit in the replacement tile.

After removing the broken tile and chipping out all the debris from the space occupied by the old tile, try fitting it in the new tile without applying any adhesive. This will help you determine if the tile is the perfect size for a replacement.
If the new tile protrudes, it’s either too big to serve as a replacement or you haven’t removed enough of the existing adhesive. Try using the scraper to remove more of the adhesive and check if that solves the problem.
Once the tile fits almost perfectly, you can spread some adhesive over the back of your replacement tile using a grout spreader. Ensuring the tile is in the correct position concerning the other tiles, press firmly onto its space until it’s at the same level as all of the other tiles.
4. Finish using tile spacers.
Once the tile seems to be perfectly in place, you may want to hold it in place and make it look in sync with all neighboring tiles using tile spacers. Tile spacers refer to those cross-shaped plastic items that help to maintain consistent spacing between tiles and hold them in place.
The tile spacers will have to hold the tile down until the adhesive is dry enough to hold it on its own. You can use a damp cloth to wipe the surface of the tile to remove any unwanted residue.
You can remove all the tile spacers after the adhesive holding down the tile is completely dry. This may take anywhere between 12 and 48 hours. Waiting is always worth it, as having a weird plastic sticking out from your wall is better than having a tile fall because it’s fixed improperly.